ติดตั้ง MySQL ใน AWS EC2 – Ubuntu 16.04
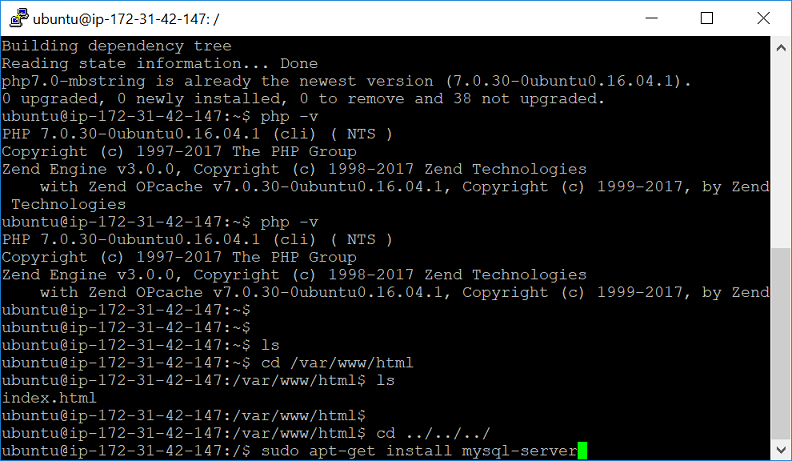
29 มิ.ย. 2018 , 3,671 Views , หมวดหมู่ AWS Linux โค๊ดดิ้ง , ป้ายกำกับ:aws, ec2, mysql- พิมพ์คำสั่ง sudo apt-get install mysql-server แล้ว Enter
แล้วระบบจะถาม Do you want to continue[Y/n]? กดปุ่ม Y แล้ว enter - ระบบจะให้ใส่รหัสผ่าน root
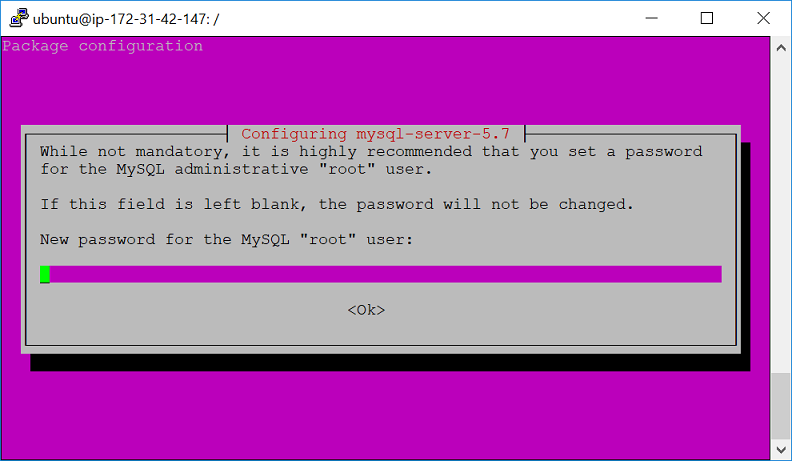
ยืนยันรหัสผ่านอีกครั้ง

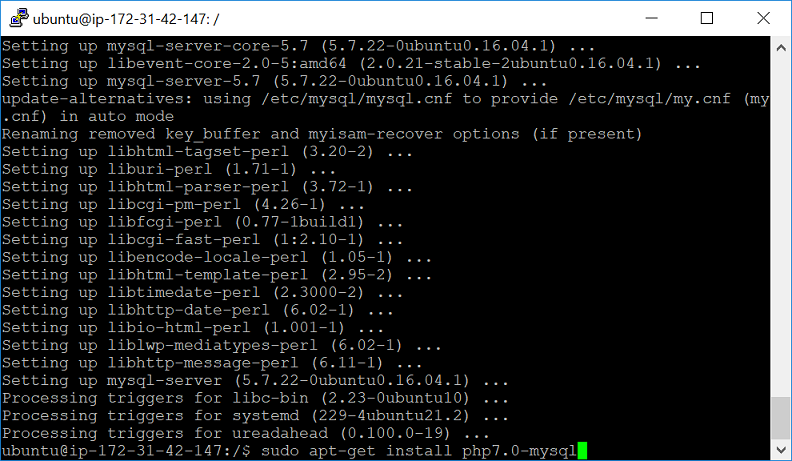
- จากนั้นพิมพ์คำสั่ง sudo apt-get install php7.0-mysql แล้วกด Enter
php-5.3.29
1sudo apt-get install php5.3.29-mysql
อ้างอิง

